Shopping ads take up some of the most valuable space on a product search — that’s the whole dessert cart. Yet most small business owners either skip Shopping ads entirely or set them up incorrectly and wonder why they’re not seeing results.
This guide walks you through exactly how to set up Google Shopping ads the right way — no guesswork, no corporate-level complexity, just clear steps that connect directly to more sales for your store.
What Are Google Shopping Ads?
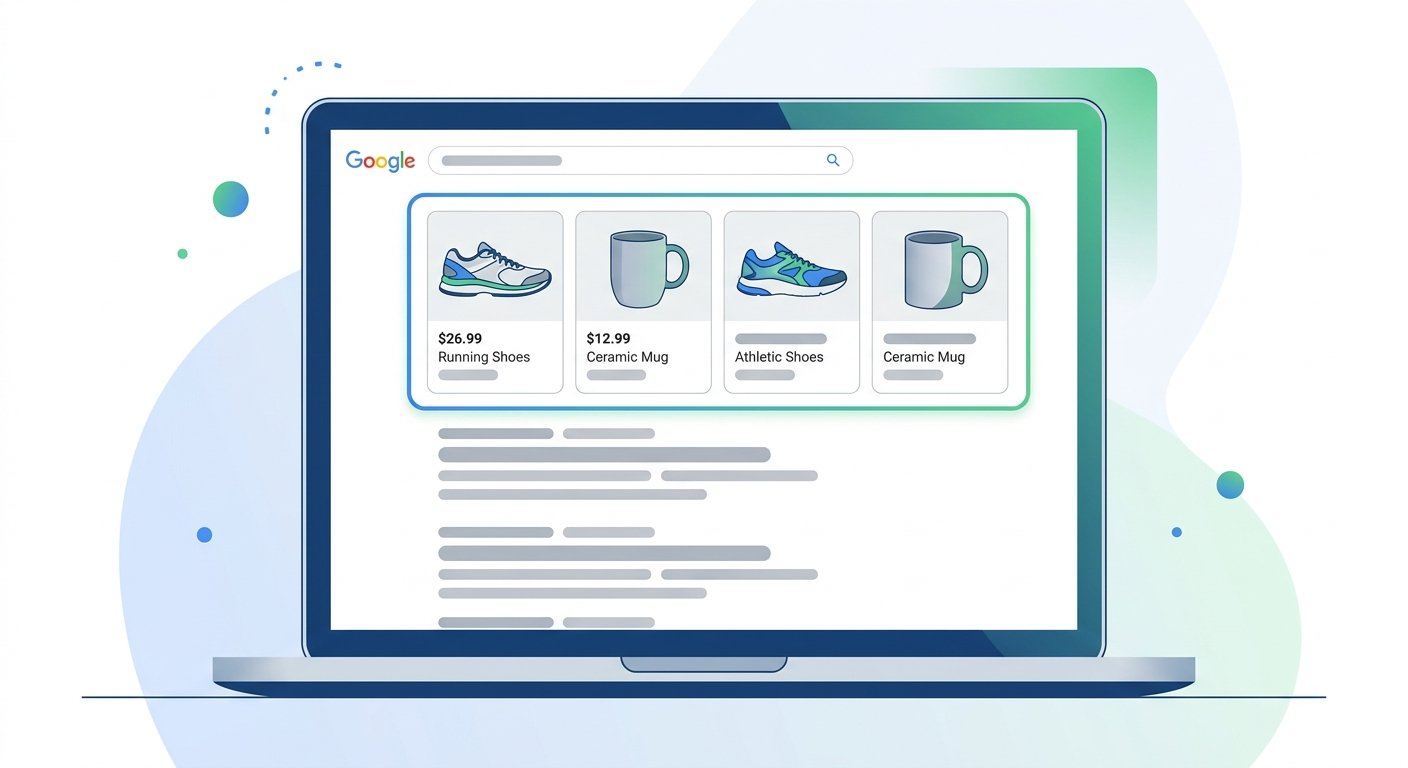
Google Shopping ads are those product listings you see at the top of Google search results — the ones with a photo, price, and store name. When someone searches “blue running shoes size 10” or “handmade ceramic mugs,” Shopping ads appear before most other results.
Unlike traditional text-based pay per click advertising, Shopping ads pull product information directly from a data feed you create. That means Google shows your products to people who are already looking to buy — making these ads incredibly cost-effective for eCommerce businesses of all sizes.
The foundation of any Shopping campaign is two connected tools: Google Merchant Center and Google Ads. Think of Merchant Center as the warehouse where your product data lives, and Google Ads as the engine that runs your campaigns.
Step 1: Set Up Your Google Merchant Center Account
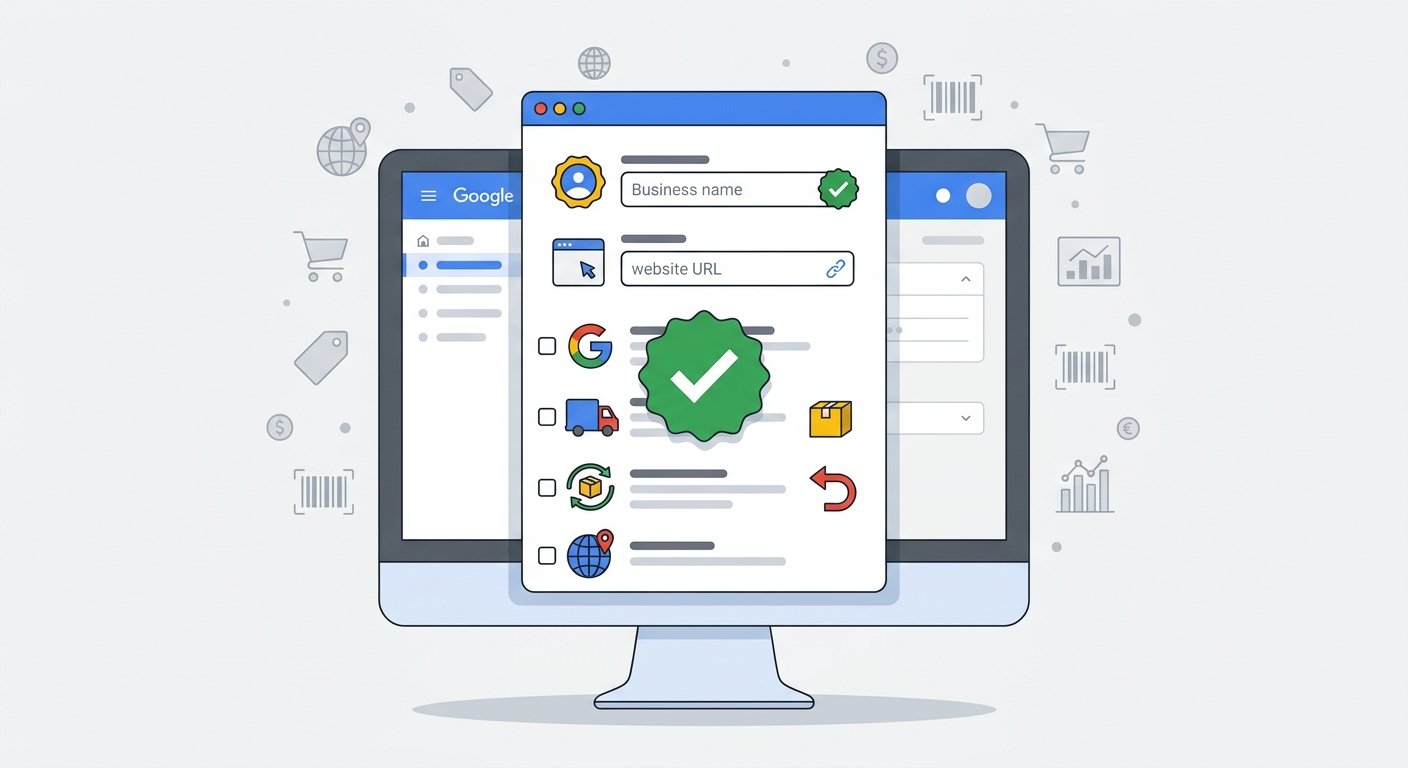
Head to Google Merchant Center and create a free account. You’ll need a Google account to get started.
During setup, you’ll need to:
- Enter your business name, website URL, and physical address
- Verify and claim your website (Google will walk you through this step)
- Set your shipping and return policies — these are required and affect how Google displays your ads
- Configure your tax settings (sales tax rules vary by state)
One thing small business owners often overlook: your website must meet Google’s Merchant Center requirements before your products will be approved. This includes easy-to-find contact information, a clear return policy page, a secure checkout (HTTPS), and a checkout where customers can actually add products to the cart and complete a purchase. If your site isn’t quite there yet, this is a great moment to review your eCommerce web design — a well-built store is the foundation that makes every ad dollar work harder.
Step 2: Build Your Product Feed
Your product feed is the list of items you want to advertise. Google uses this data to match your products to relevant searches. A complete, accurate feed is one of the biggest factors in how well your Shopping ads perform.
Required Product Data Fields
For each product, you’ll need:
- ID — a unique identifier for each product
- Title — be descriptive and include key attributes (color, size, material)
- Description — clear, benefit-focused, keyword-rich
- Link — the exact URL of the product page
- Image link — high-quality images perform significantly better
- Price — must match what’s on your website exactly
- Availability — in stock, out of stock, preorder, or backorder
- Brand and GTIN (barcode number) where applicable
If you’re running a Shopify or WooCommerce store, there are native integrations and plugins that automatically sync your product catalog to Merchant Center — saving hours of manual work. This is another area where having a properly built eCommerce site pays dividends.
Step 3: Link Merchant Center to Google Ads
Once your product feed is live and approved (this can take 24–72 hours), you’ll link your Merchant Center account to your Google Ads account.
In Merchant Center, open your account settings (the gear icon), go to Linked accounts, choose Google Ads, and enter your Google Ads customer ID. Accept the link request from inside Google Ads, and you’re connected.
If you don’t already have a Google Ads account, create one at ads.google.com. You won’t be charged anything just for setting it up.
Step 4: Create Your First Shopping Campaign
Inside Google Ads, click + New Campaign and select Sales as your goal (or “Create a campaign without a goal’s guidance” for more control). Then choose Shopping as your campaign type.
Campaign Settings to Get Right
- Merchant Center account — select the account you just linked
- Country of sale — United States for most businesses in South Florida
- Campaign subtype — Start with Standard Shopping for maximum control where it’s offered; Performance Max is available but works best once you have conversion data
- Bidding — “Maximize clicks” is the easiest starting point; once you gather data, switch to Target return on ad spend
- Daily budget — Start with $20–$50/day to gather meaningful data without overcommitting
- Networks — Turn off any extra network options you don’t need when starting out; keep your spend focused on Google Search
Step 5: Organize Your Ad Groups and Products
Inside your campaign, you’ll organize products into ad groups. Google will default to putting all products in one group, but smart google ads management means breaking products into logical categories — by brand, product type, profit margin, or price range.
Why does this matter? Because it lets you bid more aggressively on your best-performing or highest-margin products, and pull back on items that rarely convert. A flat structure treats your $10 impulse buy the same as your $200 flagship product — and that’s money left on the table.
Step 6: Add Negative Keywords
One of the most impactful (and most neglected) steps in Shopping campaign setup is adding negative keywords. Since Shopping campaigns are triggered by Google matching your product data to searches — not by keywords you choose — you can end up paying for completely irrelevant clicks.
Common negative keywords for retail businesses include:
- “free,” “DIY,” “how to make”
- Competitor brand names (if you don’t carry those brands)
- Irrelevant product categories that might share words with your products
Review your Search Terms report weekly, especially in the first month. This is where your campaign gets smarter over time.
Step 7: Track Conversions Properly
None of this matters if you can’t measure results. Before spending a dollar, make sure Google Ads conversion tracking is installed on your thank-you or order confirmation page. This tells Google exactly which clicks led to purchases, which is the data it needs to optimize your bids automatically.
According to Google’s own conversion tracking guidelines, proper setup is essential for automated bidding strategies to function correctly. Without it, you’re essentially flying blind.
For eCommerce stores, connect Google Analytics 4 as well — the combined data gives you a far clearer picture of customer behavior, not just ad clicks. Once tracking is solid, you can also win back shoppers who left without buying with Google Ads retargeting for abandoned carts.
When to Consider Professional Google Ads Management
Setting up Shopping ads yourself is absolutely doable, and this guide gives you a strong foundation. But there’s a real difference between a campaign that’s live and a campaign that’s profitable. Professional Google Ads management means ongoing optimization — adjusting bids, expanding negative keyword lists, testing product titles, and reading performance data to make decisions that compound over time.
For South Florida ecommerce stores, that often means handling seasonal swings, tourist-driven demand, and tight local competition alongside national retailers. Our team at UltraWeb Labs provides personalized PPC management services tailored to your product catalog, margins, and goals, whether you’re in Boca Raton, West Palm Beach, Fort Lauderdale, or Miami. We focus on providing clear reporting you can understand. If you’re also weighing where to put your budget, our comparison of Google Ads vs. Facebook Ads can help.
Frequently Asked Questions
How much should I spend on Google Shopping ads when starting out?
For most small businesses, starting with $20–$50 per day gives you enough data to optimize within 30 days without significant financial risk. As you identify what’s working, you can confidently scale your budget on campaigns and products that are delivering a positive return.
How long does it take for Google Shopping ads to show results?
Product approval in Google Merchant Center typically takes 24–72 hours. After your ads go live, expect a 2–4 week learning period as Google’s algorithm gathers data. Most businesses start seeing meaningful conversion data within the first month, with performance improving steadily from there.
Do I need a perfectly designed website to run Shopping ads?
Your website doesn’t need to be perfect, but it does need to be trustworthy and functional. Google requires clear policies, secure checkout, and accurate product pages. A well-built eCommerce site directly impacts conversion rates — meaning more of your ad clicks turn into actual sales. Poor site experience is one of the most common reasons Shopping campaigns underperform.
What’s the difference between Shopping ads and Performance Max campaigns?
Standard Shopping campaigns give you direct control over bidding by product group. Performance Max uses AI to serve ads across Google’s entire network — Search, YouTube, Display, Gmail, and Maps — based on your conversion data. PMax works well once you have a solid conversion history; Standard Shopping is generally better for newer accounts still building data.
Can I run Google Shopping ads if I only have a few products?
Absolutely. Even a catalog of 10–20 products can run effectively with Shopping ads. In fact, smaller catalogs are often easier to manage and optimize. The key is making sure each product listing is complete, accurate, and written to match how your customers actually search.
Ready to Turn Clicks Into Customers?
Google Shopping ads are one of the most powerful tools available for small eCommerce businesses — when set up correctly and managed with intention. Whether you’re launching your first campaign or trying to fix one that isn’t performing, the team at UltraWeb Labs is here to help.
We’re a South Florida-based digital marketing team working with small and growing businesses across Boca Raton, West Palm Beach, Fort Lauderdale, and Miami. We specialize in eCommerce growth and lead generation — and we make it personal. You’ll know exactly what we’re doing, why we’re doing it, and what results to expect.
Ready to get started? Call us at (561) 948-0442 or visit our Google Ads services page to learn how we can build a Shopping campaign that works as hard as you do.

About UltraWeb Labs Inc.
UltraWeb Labs Inc. provides practical digital marketing solutions for small and growing businesses nationwide, with deep roots in South Florida. We specialize in eCommerce growth, lead generation, and measurable ROI through personalized service that combines approachable expertise with proven results. Our team focuses on making digital marketing accessible and actionable for business owners who want real growth without corporate-level complexity. Visit ultraweblabs.com →